
Getting Started with Arduino in Kenya: What to Buy and What to Build
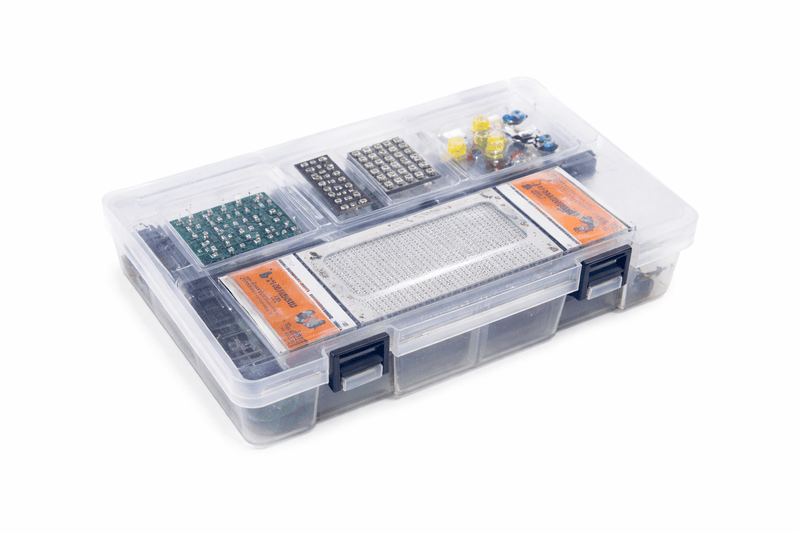
If you have decided to learn electronics, an Arduino is the cheapest useful place to start. It is a small board with a microcontroller on it: you write a program on your laptop, upload it over USB, and the board runs that program forever until you replace it. No operating system, no boot time. Power it and it starts working.
Which board should you buy first?
For a first board, buy an Arduino Uno. It runs at 5V, which keeps sensor wiring simple, the pin layout matches almost every tutorial and shield you will find online, and it survives beginner mistakes better than the alternatives. A Nano does the same job in a smaller package and is what you move to once a project is finished and needs to live in a box. Choose an ESP32 instead only if you already know the project needs WiFi or Bluetooth, because it runs at 3.3V and you have to be more careful about which sensors you connect to it.
What else do you actually need?
A breadboard and a set of jumper wires. Buy male-to-male, male-to-female and female-to-female jumpers together, because sooner or later you need all three. An assorted resistor kit, since resistors cost a few shillings each and running out of the one value you need is the most annoying way to end an evening. A handful of LEDs. That is genuinely enough to start.
Two things people buy too early: a soldering iron, which you do not need until a circuit has to become permanent, and a large sensor kit, where you typically use four of the thirty sensors and lose the rest.
One thing people buy too late: a multimeter. Being able to check continuity and measure an actual voltage turns guessing into diagnosis, and will save you more hours than any other purchase on this page.
Your first month
Start by blinking an LED. It is a trivial program, but it proves your board, your cable, your drivers and your IDE all work together, which means that when a later project fails you know the problem is the new part and not your setup.
From there, add a sensor and make something respond to the world: an ultrasonic sensor that measures distance, a temperature and humidity sensor that logs a room, a servo that moves when something gets too close. Each of those is a self-contained evening's work and each teaches one new idea.
Then combine two things you already understand. A distance sensor plus a servo is a radar. A temperature sensor plus a relay is a thermostat. Almost every impressive project is two or three simple ideas wired together.
Where to buy in Nairobi
We stock everything above at our shop on Mfangano Street in Nairobi CBD, and deliver countrywide. If you are unsure what a project needs, message us on WhatsApp with what you are trying to build and we will tell you the actual parts list rather than selling you a kit.
// Your first sketch. Proves the whole toolchain works.
void setup() {
  pinMode(LED_BUILTIN, OUTPUT);
}

void loop() {
  digitalWrite(LED_BUILTIN, HIGH);
  delay(1000);
  digitalWrite(LED_BUILTIN, LOW);
  delay(1000);
}Browse our full catalog of Arduino boards, sensors and components.
Reviews
Be the first to review this guide.
More tutorials
 Beginner
 An honest comparison of the two most common boards, and a clear rule for choosing between them.
 Beginner
 The classic first Arduino project — blink an LED on and off.
 Intermediate
 Project ideas grouped by difficulty, with the parts each one needs and an honest note on where students usually get stuck.